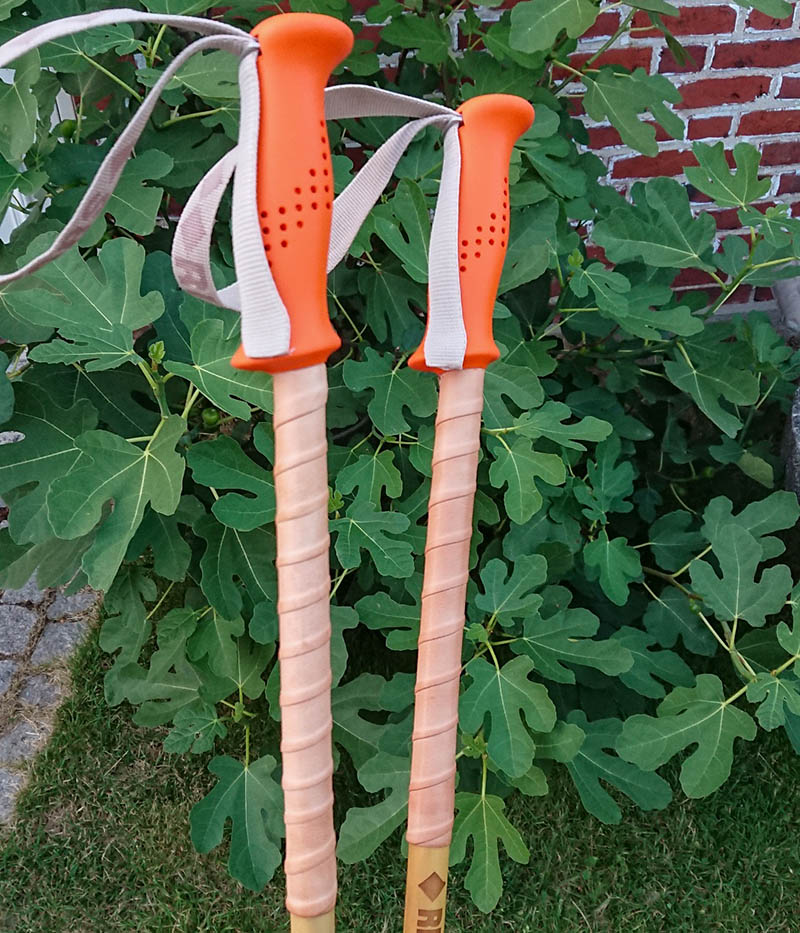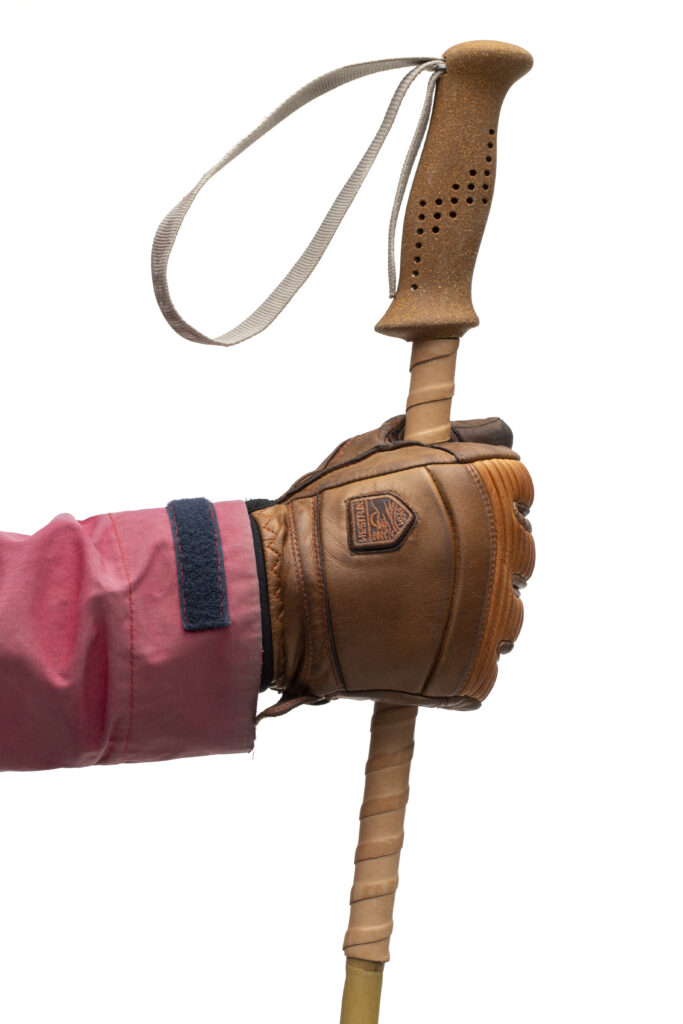
Many skiers prefer poles with grip extensions. Especially when going backcountry ski touring. Extra grip area can sometimes be practical, uphill as well as downhill. With well-treated leather gloves, you usually get a good grip of your ski poles regardless of extended grips or not. But if you don’t wear leather gloves, or simply just want to improve you grip further down your pole shafts, it’s easy to fix good extra grip for you skiing adventures.
This DIY guide describes step by step how you can extend the ski pole grip area with 25 cm of extra grip, down the shaft under the original grips. The basic principle is the same as when wrapping overgrip on a tennis racket or taping a bike handlebar.
Material and tools
- 1 pair of ski poles with removable grips
- 2 straps of leather (reindeer*), 25 mm wide, 0,8 mm thick and 1 000 mm long
- Double-sided tape (for thicker/softer grip use foam tape)
- Flex tape (Bison*) or other acrylic construction seaming tape
- Liquid soap (linseed oil soap*)
- Leather balm/wax/grease
- Protractor or 22° angle
- Scissors
- Folding ruler and pen
* My product of choice
DIY—step by step
Time needed: 1 hour
Step-by-step instructions
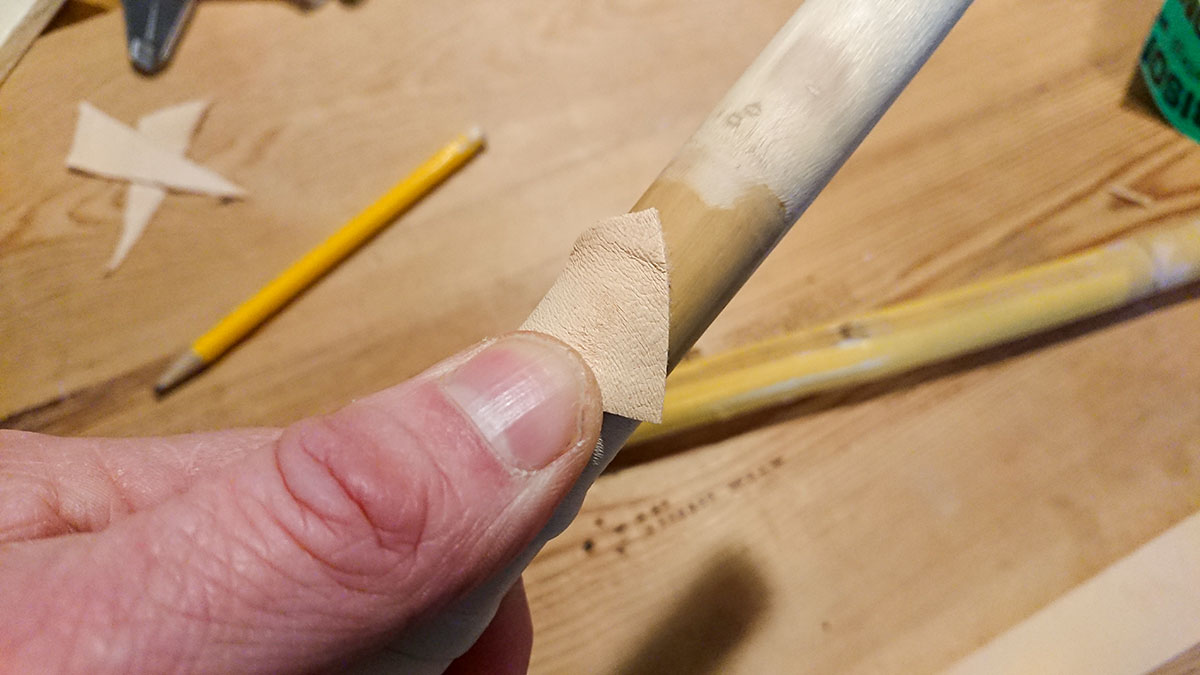
- Measure and mark the angle on the leather straps
I use bark-tanned reindeer leather that is 0.8 mm thick and 25 mm wide. In order to get 25 cm of extra grip under the original grip, the leather straps must be at least 90 cm long to make sure they are long enough. The end that begins the wrapping must be cut at an appropriate angle. Mark an angle of about 22 degrees with a pen. It is also possible to measure approx. 65 mm along the upper edge of the strip and draw a diagonal line. See the last picture!
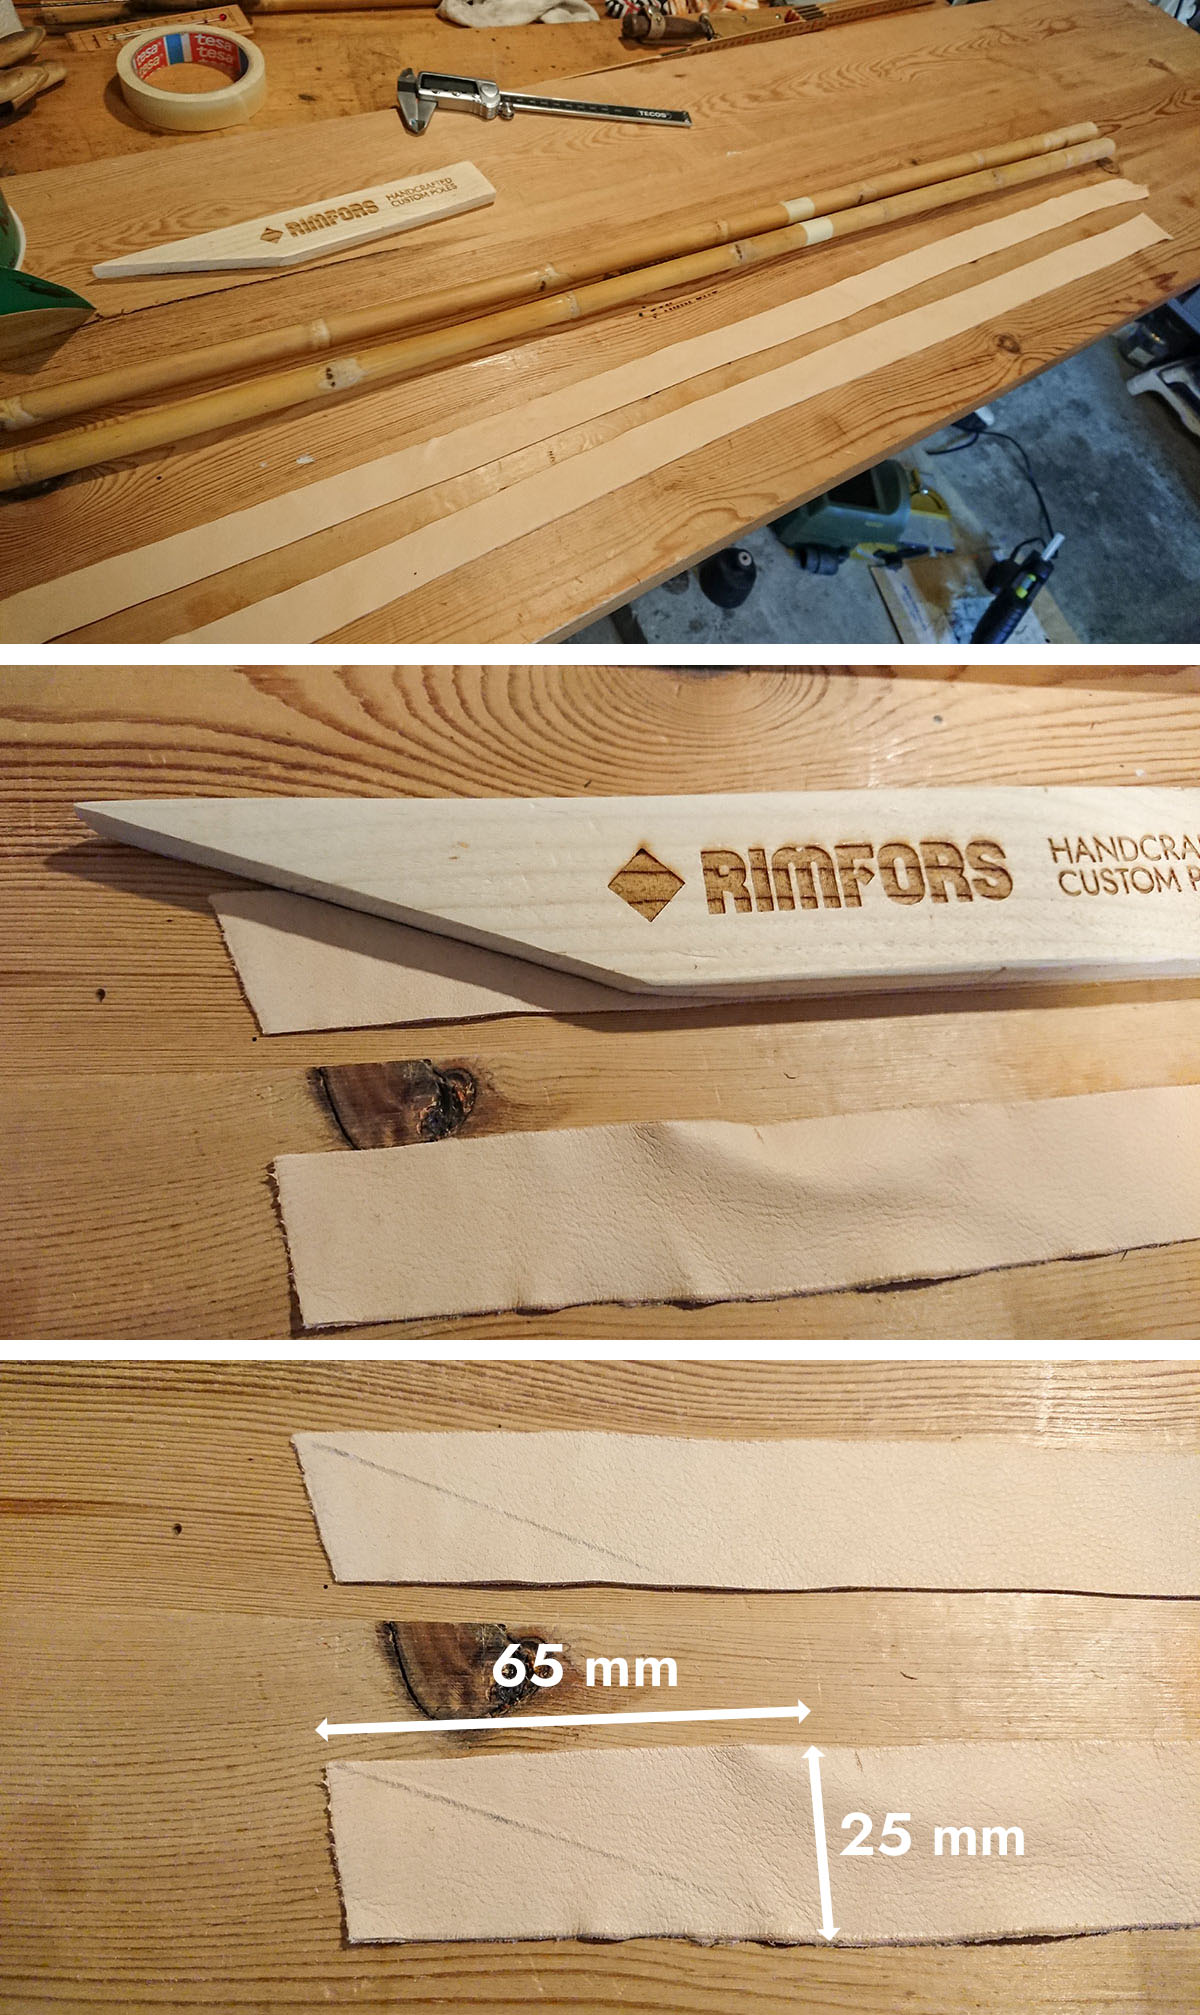
- Cut the angle of the strips
Cut the 22-degree angle on the straps.

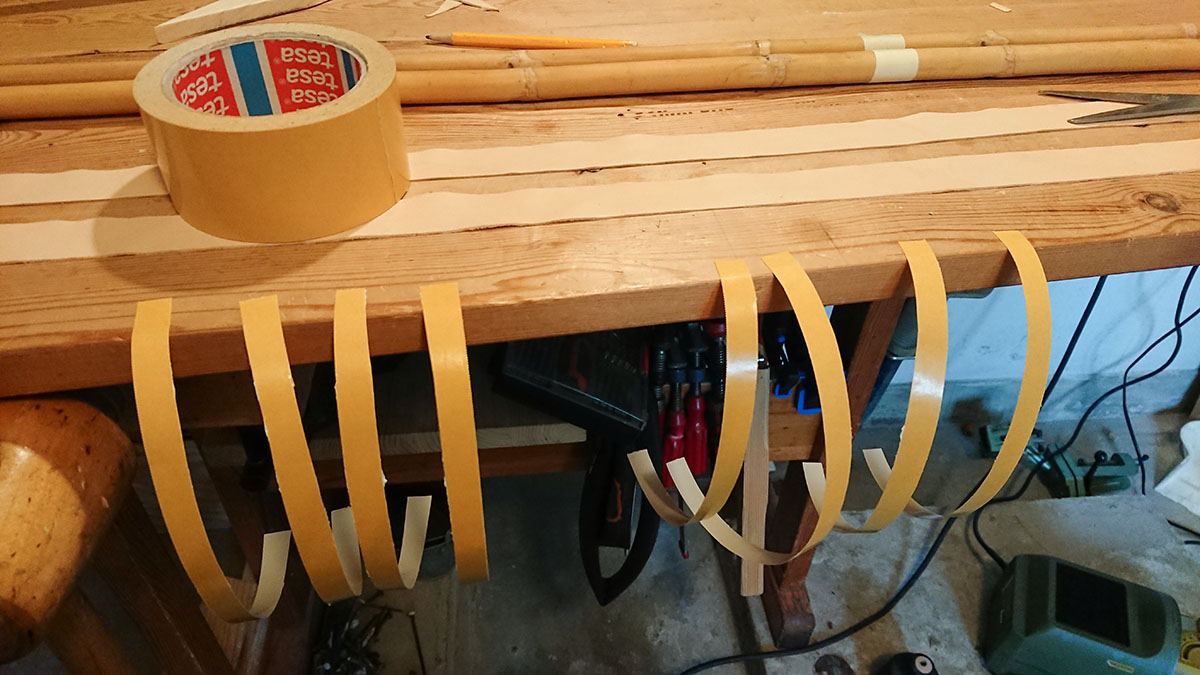
- Double-sided tape
Cut 25 cm long strips of double-sided tape. For thicker and softer grip use double-sided foam tape. It is also possible to tape directly directly to the shaft, without pre cutting into narrow strips, and then make razor cuts along the wide tape to be able to peel off the protective paper. However, it will be less lumpy with pre cut narrow strips. If you’re lucky, you might find narrower tape.
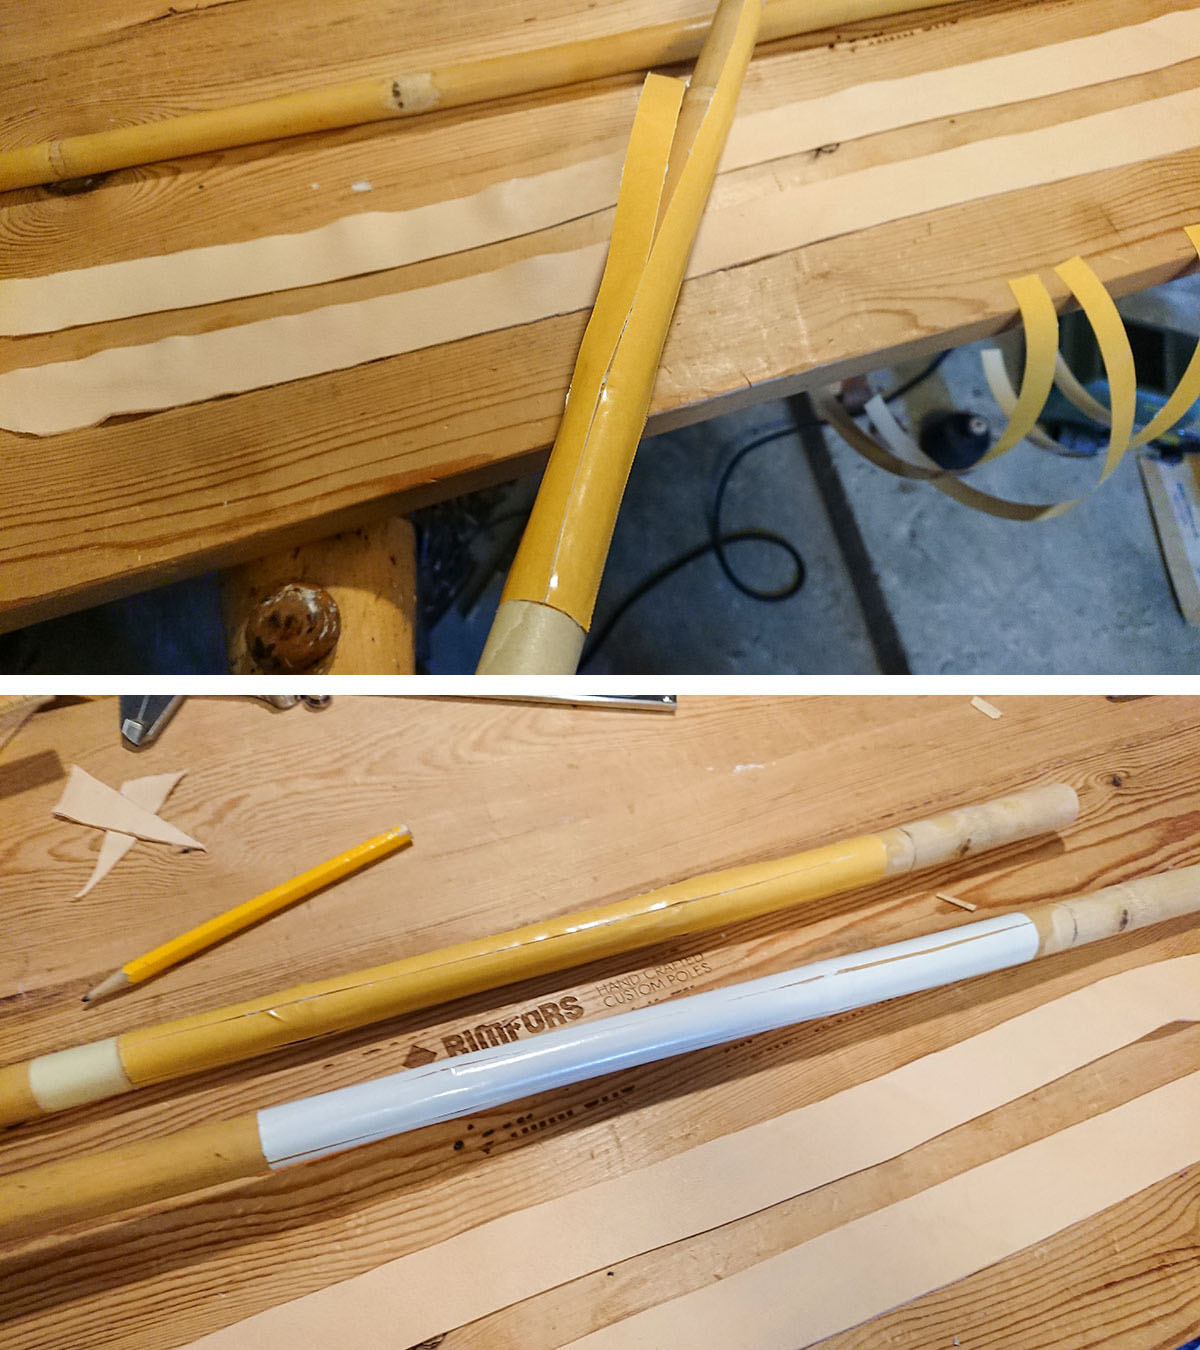
- Attach double-sided tape to the shaft
Attach the strips of double-sided tape to the pole shaft. Tape from the bottom of where the original grip will end, and 25 cm down the shaft. Peel off the protective paper.
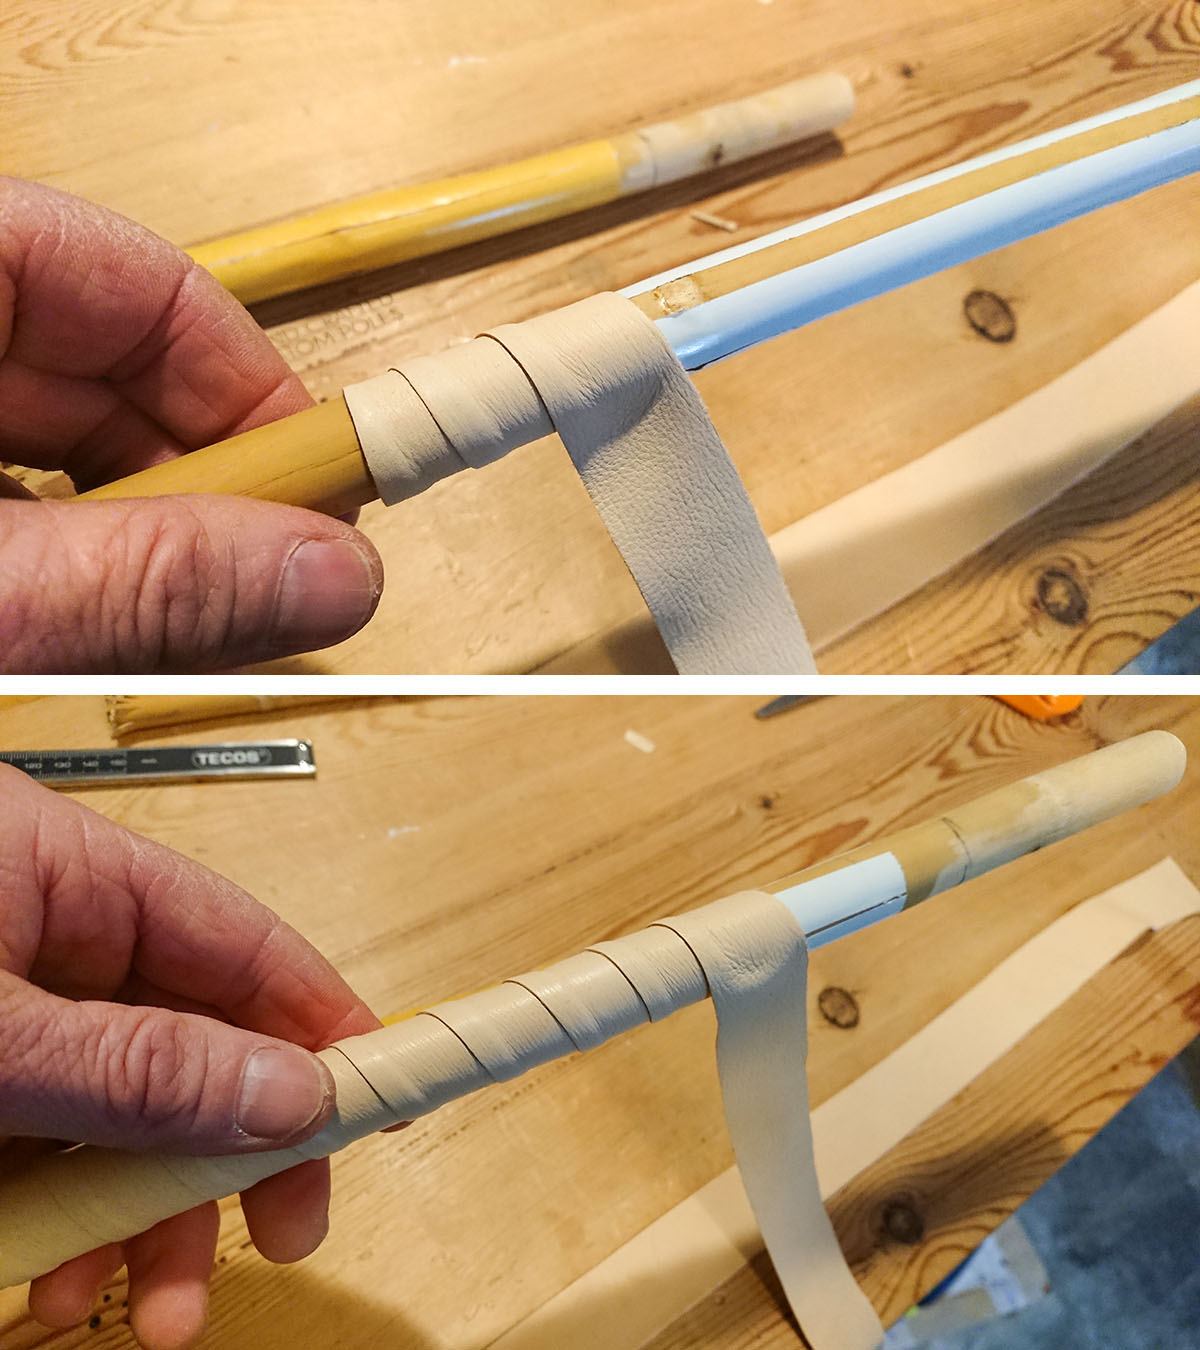
- Fasten the leather strap
Place the sharp tip (the cut angle) of the leather strap at proper angle, on top of the double-sided tape, on the pole shaft. Then wrap until the strap overlaps itself and hides the tip you started with. In this way you lock the leather into place. Note! You always start wrapping from the bottom and continue upwards towards the original grip.
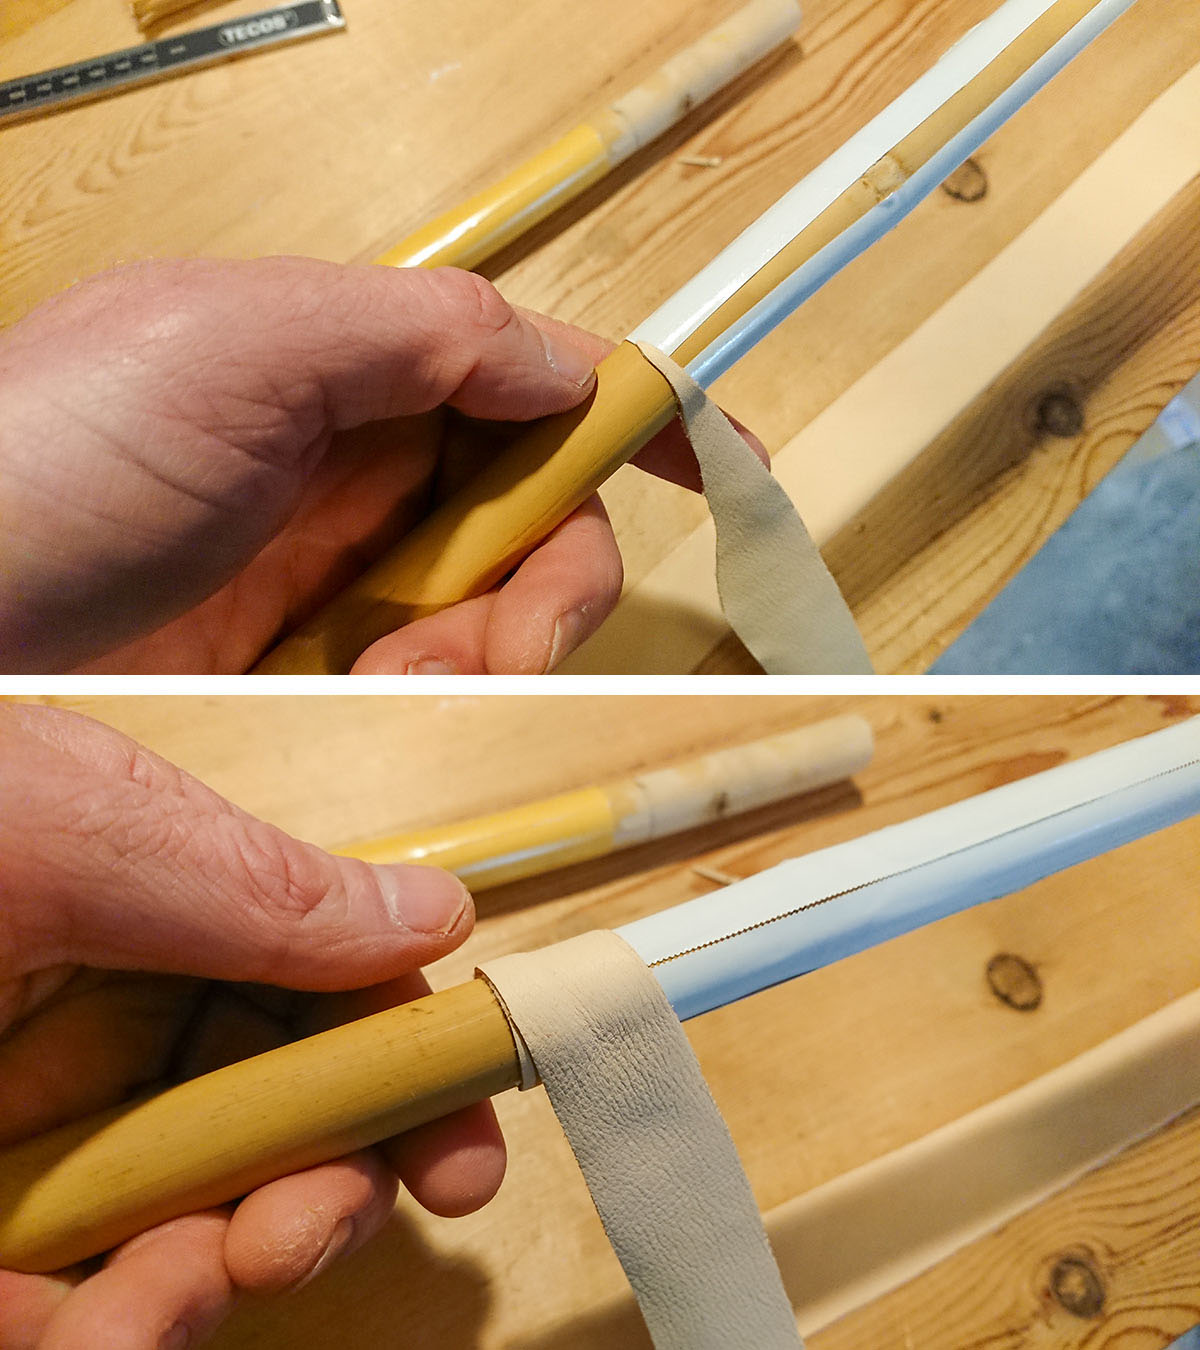
- Wrap the leather strap
Wrap the leather strap up the shaft with an overlap of approx. 6—7 mm. More overlap requires longer strap! Tighten the strap consistently and properly while winding. Not too loose and not too tight. If you pull too hard the strap will get too thin and narrow.
- Cut off the leather strap
When you have wrapped one and a half centimeters above where the original grip’s bottom end will be when they are back on, you cut off the leather strap crosswise
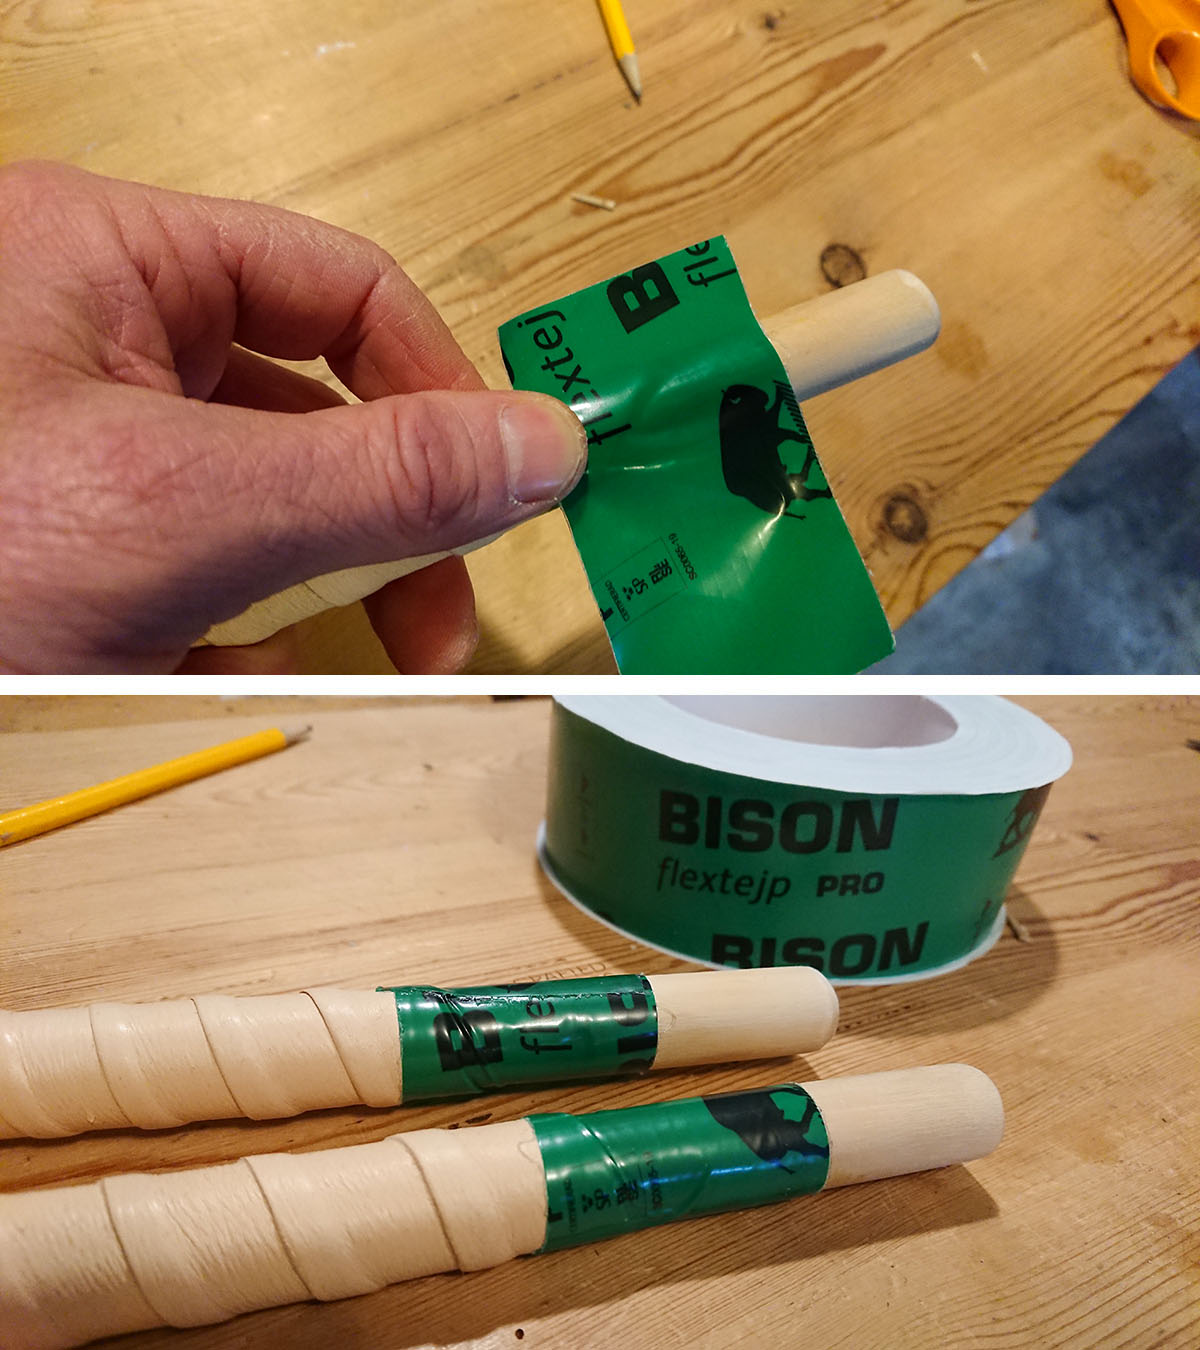
- Secure the strap with flex tape
Cut an 8 cm long piece of flex tape, and attach the leather by wrapping the flex tape at least one turn around the shaft. Make sure the flex tape does not end up below where the original grips will be mounted. When I use Tehnomat’s grips (with 10.5 cm hole inside) I make sure the flex tape doesn’t go any further down the pole than 9.5 cm. In this way, the green flex tape is hidden when the original grips are back on.
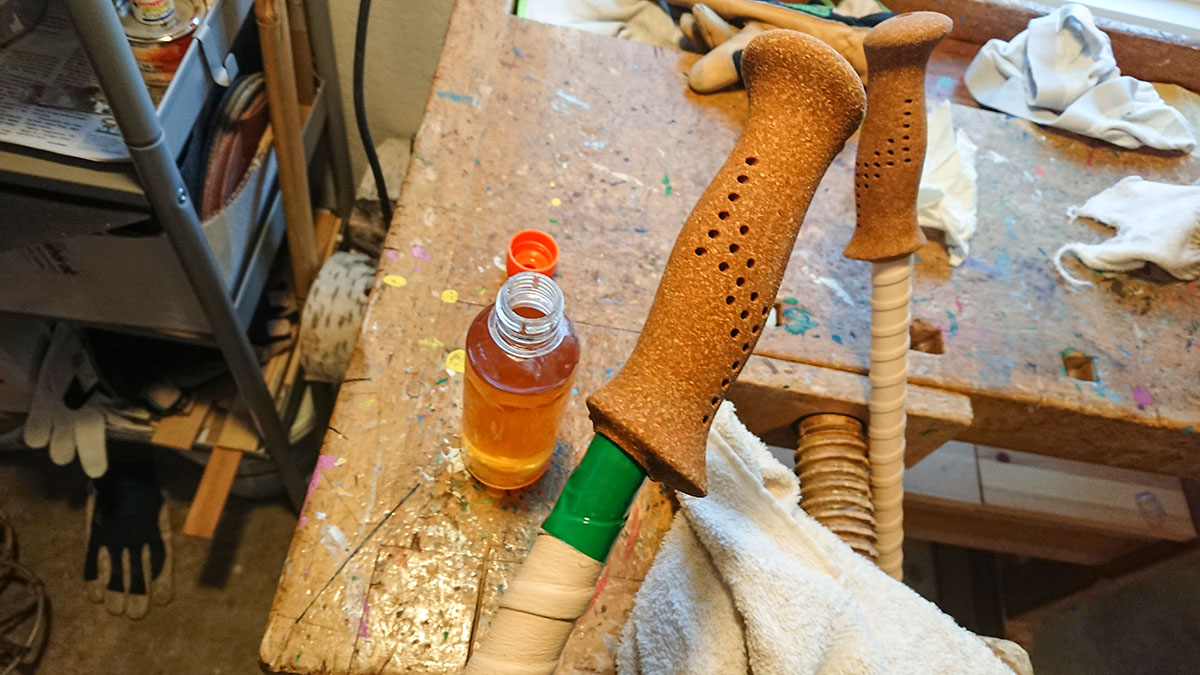
- Liquid soap
Dip a finger in linseed oil soap (or other liquid soap) and smear the shaft from the tape upwards, as well as inside the grip. Be careful not to stain the leather!
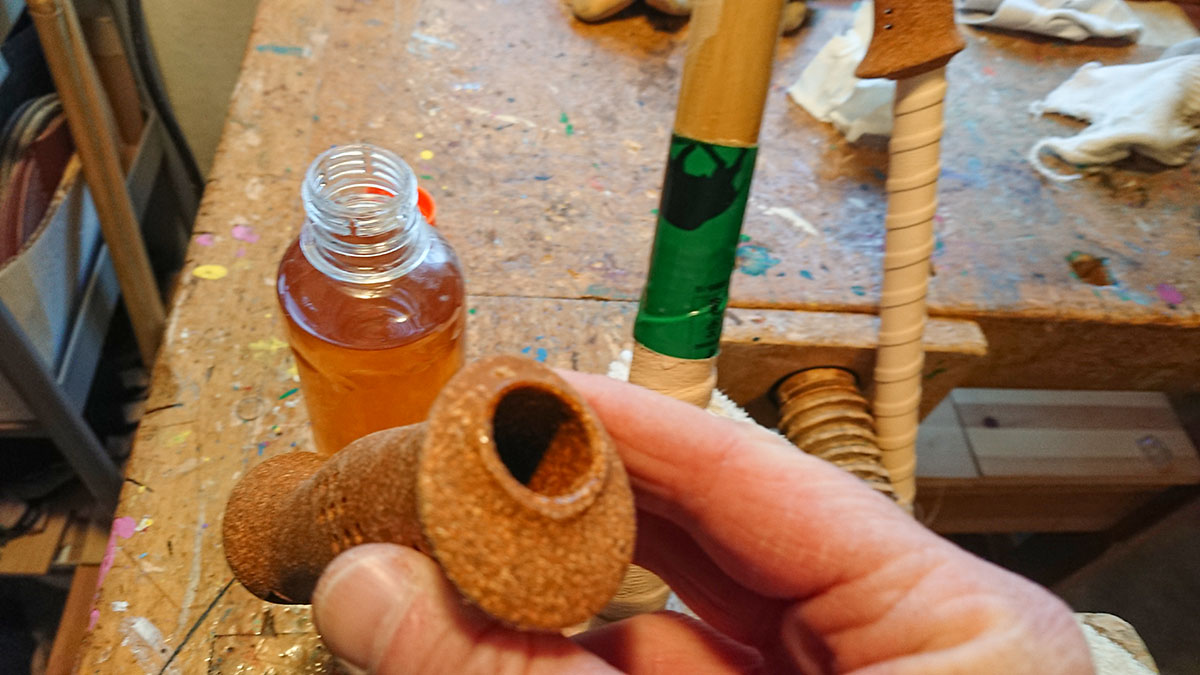
- Press the grip back on
Press on the original grip while turning until the grip is at the bottom.
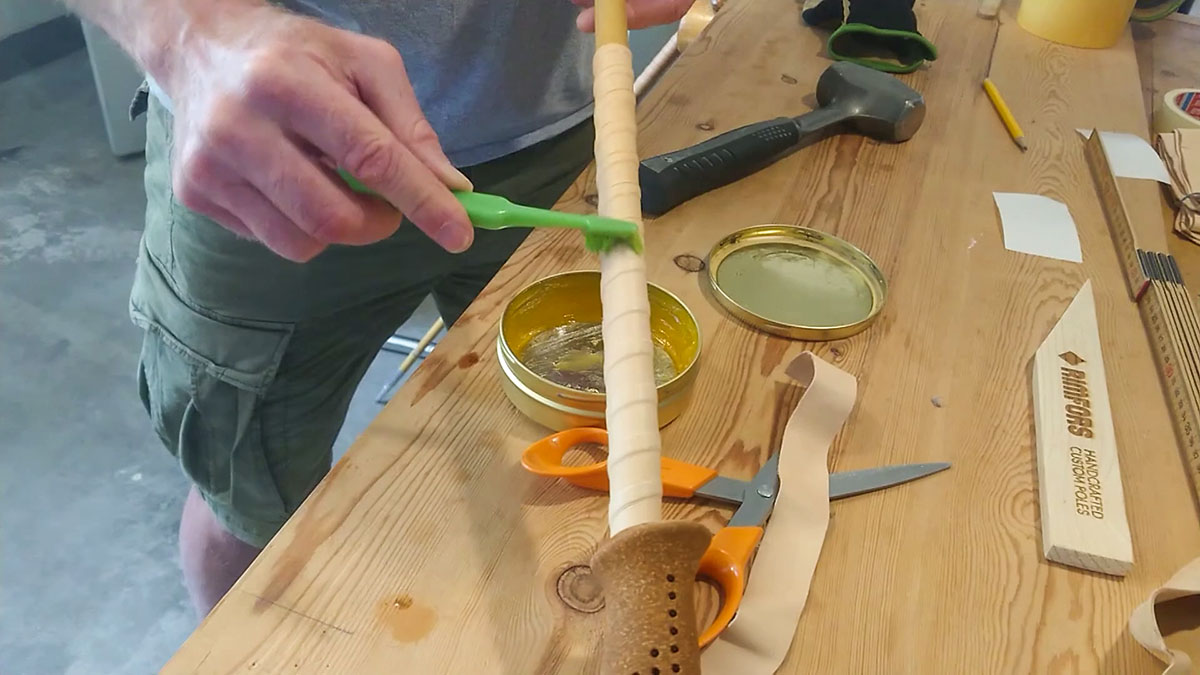
- Treat the leather
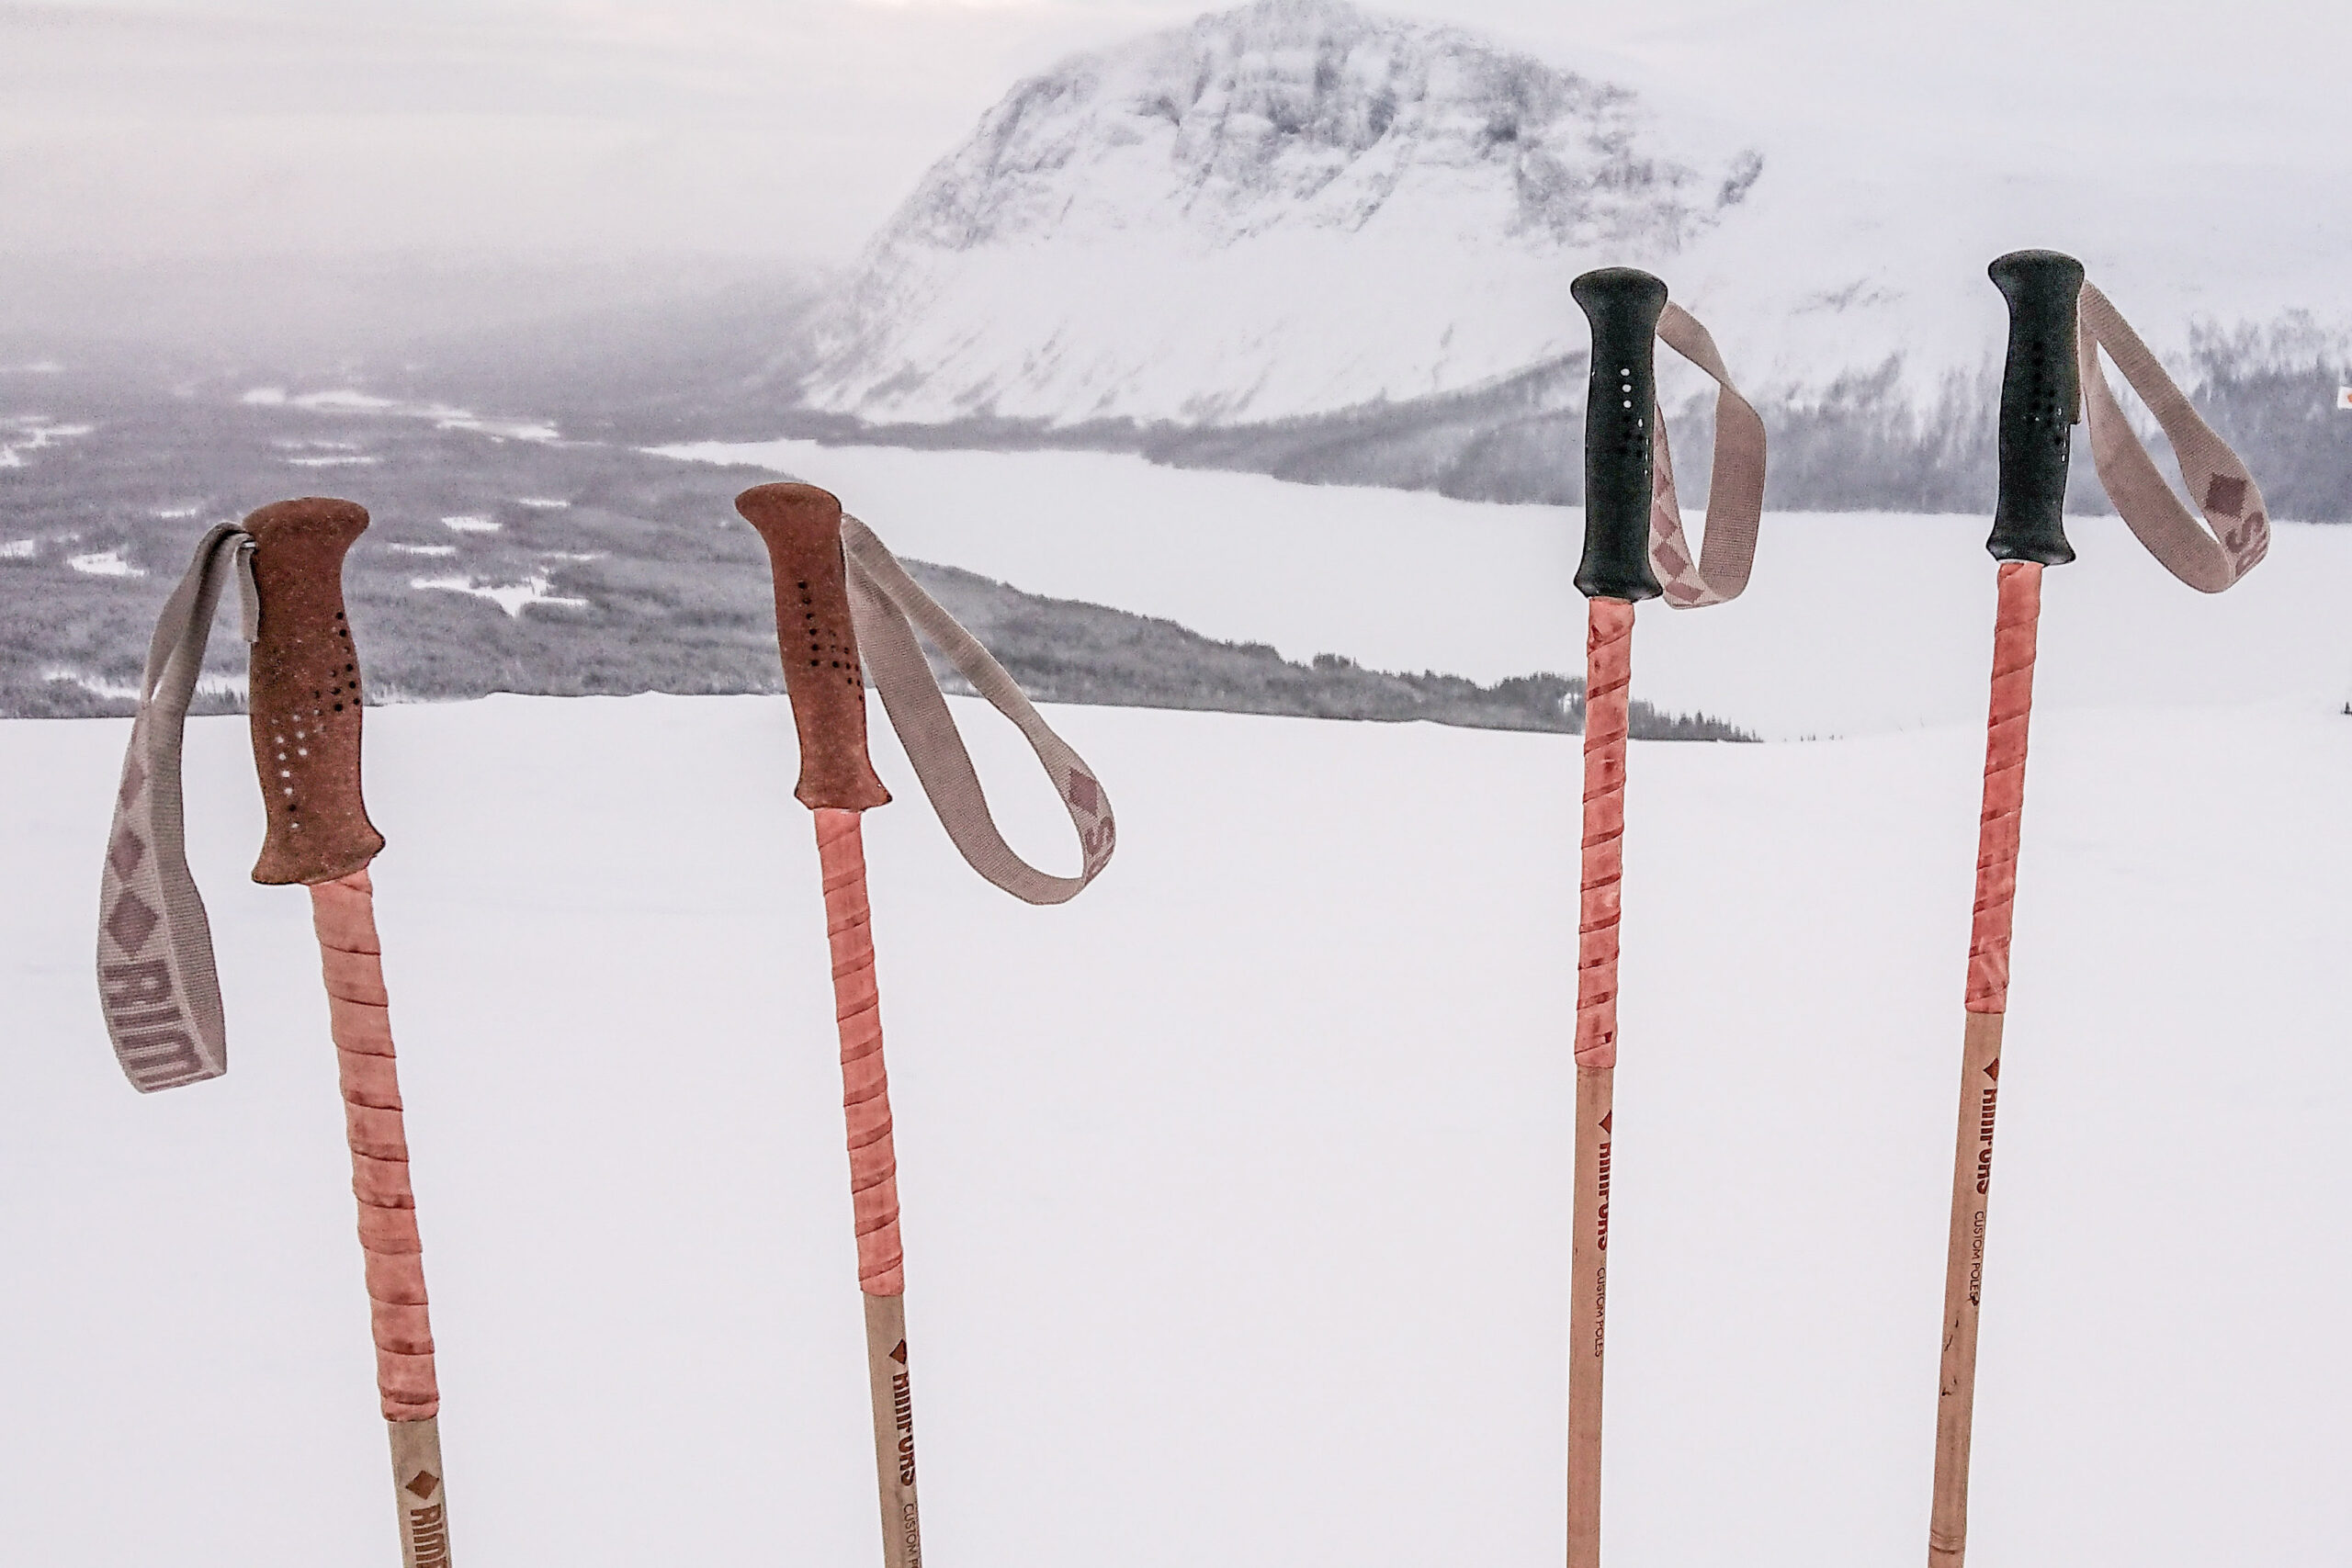
Before heading out to the mountains, it is important to treat the leather with leather balm, leather wax, grease or similar. Linseed oil wax containing beeswax also work well. Rub it in generously and then leave the ski sticks for a day to soak up the wax, or until completely absorbed. Undyed natural leather darkens slightly when treated.
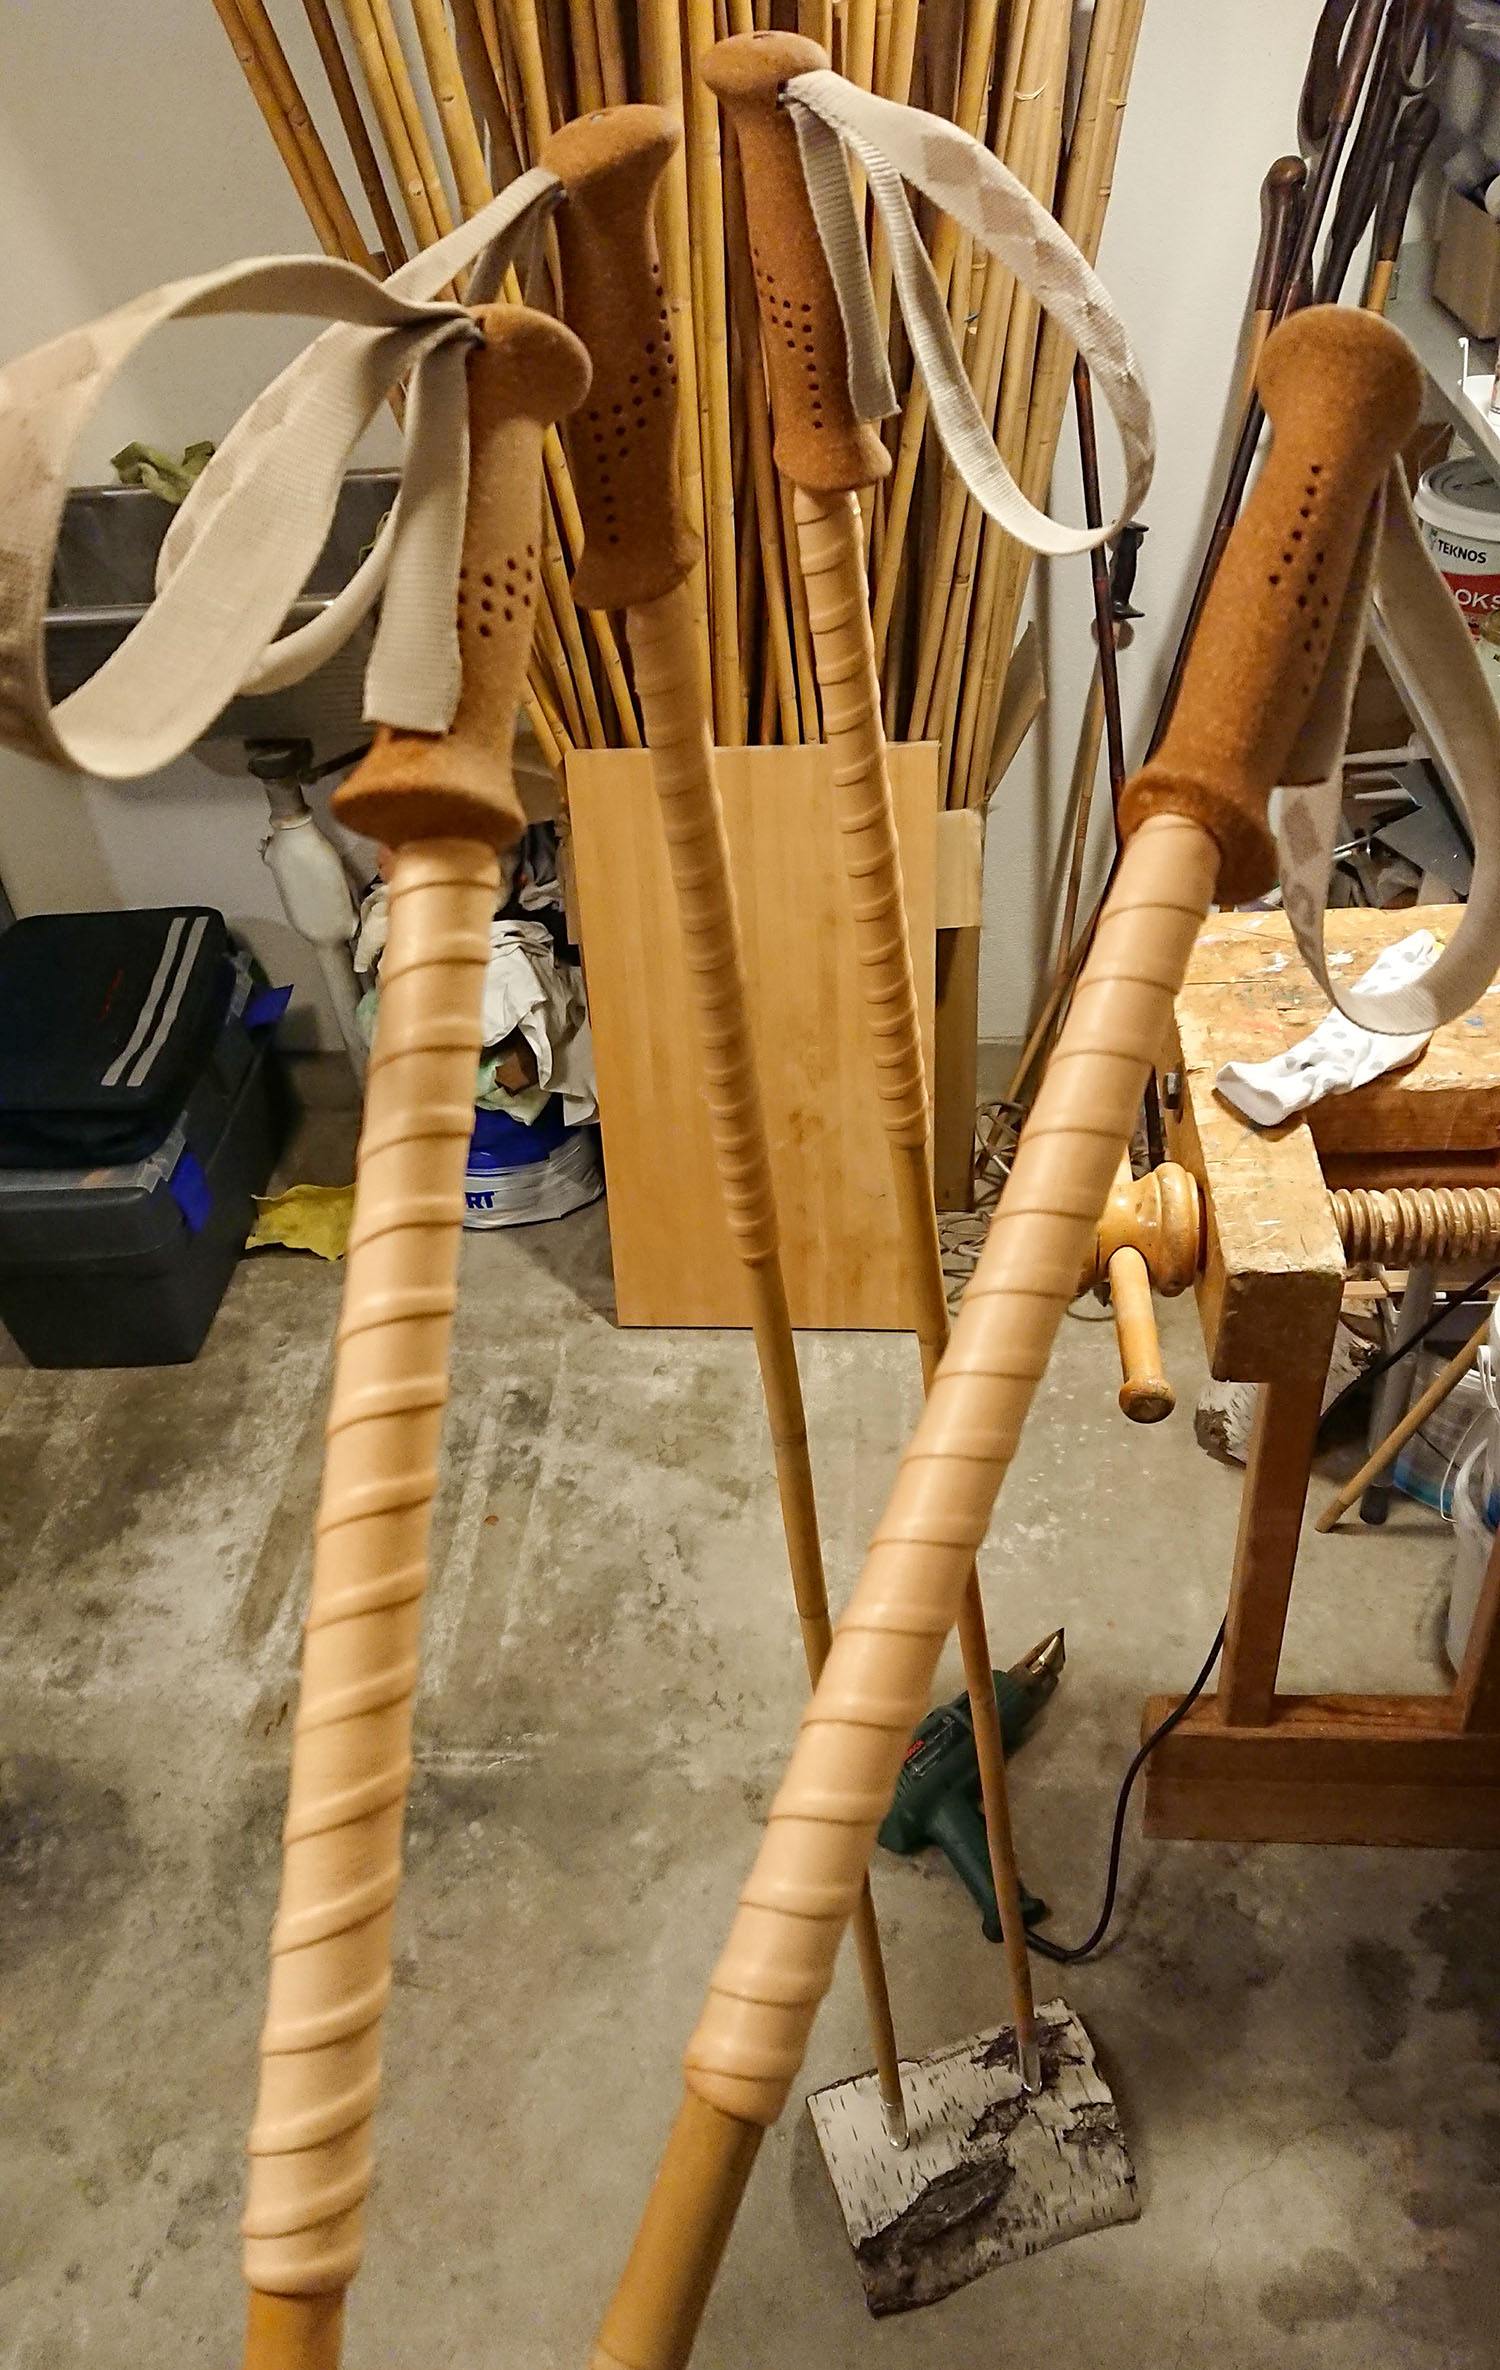
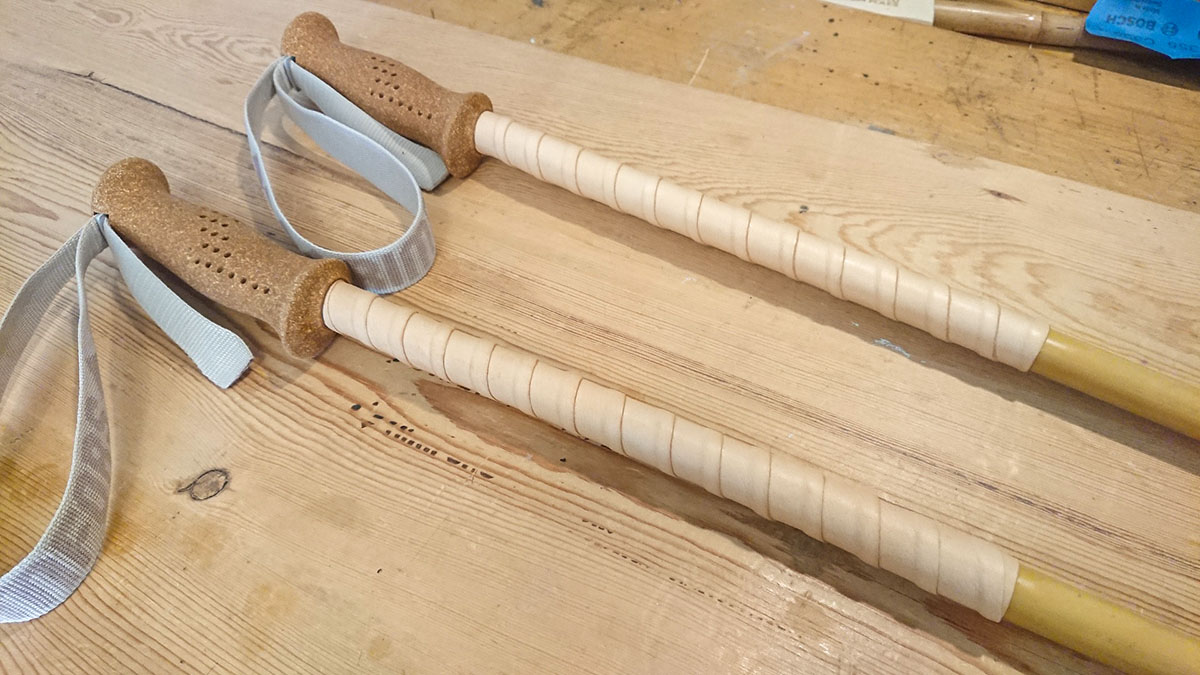
- Done diddly done!
Congratulations to your homemade backcountry ski poles! Feel free to treat the leather at least once a year. Then they will last for a long time and provide extra good grip. Natural leather ages beautifully!
Tutorial DIY video
About the tape and leather
With the right material, making grip extensions is easy. All tape must be strong. You need double-sided tape for the grip area and super strong flex tape for fastening the end of the leather strap. For the grip area you have two options depending on your preferences: a thin tape to make a thin grip or a thick tape to make a thick grip. A wide tape may have to be cut in smaller strips. Above I use a 50 mm wide tape, but most often I use a 25 mm width.
The leather must also be relatively thin to be flexible. Bark-tanned reindeer leather is very durable and very flexible, and eco-friendly. At the same time, it supports the Sami traditions of reindeer herding. These are my choices of materials.
- Thin double-sided tape (0,1 mm thick, 50 mm wide)
or thick double-sided foam tape (1 mm thick, 25 mm wide) - Bison Flex Tape Pro (50 mm)
- Kero bark-tanned reindeer leather (natural undyed, 1 000 x 25 x 0,8 mm)
Go for it and good luck!
Fabian Rimfors